Gyoza Wrappers

Hello everybody, I hope you are having an amazing day today. Today, I will show you a way to prepare a special dish, Gyoza Wrappers. It is one of my favorites food recipes. This time, I will make it a little bit unique. This is gonna smell and look delicious.
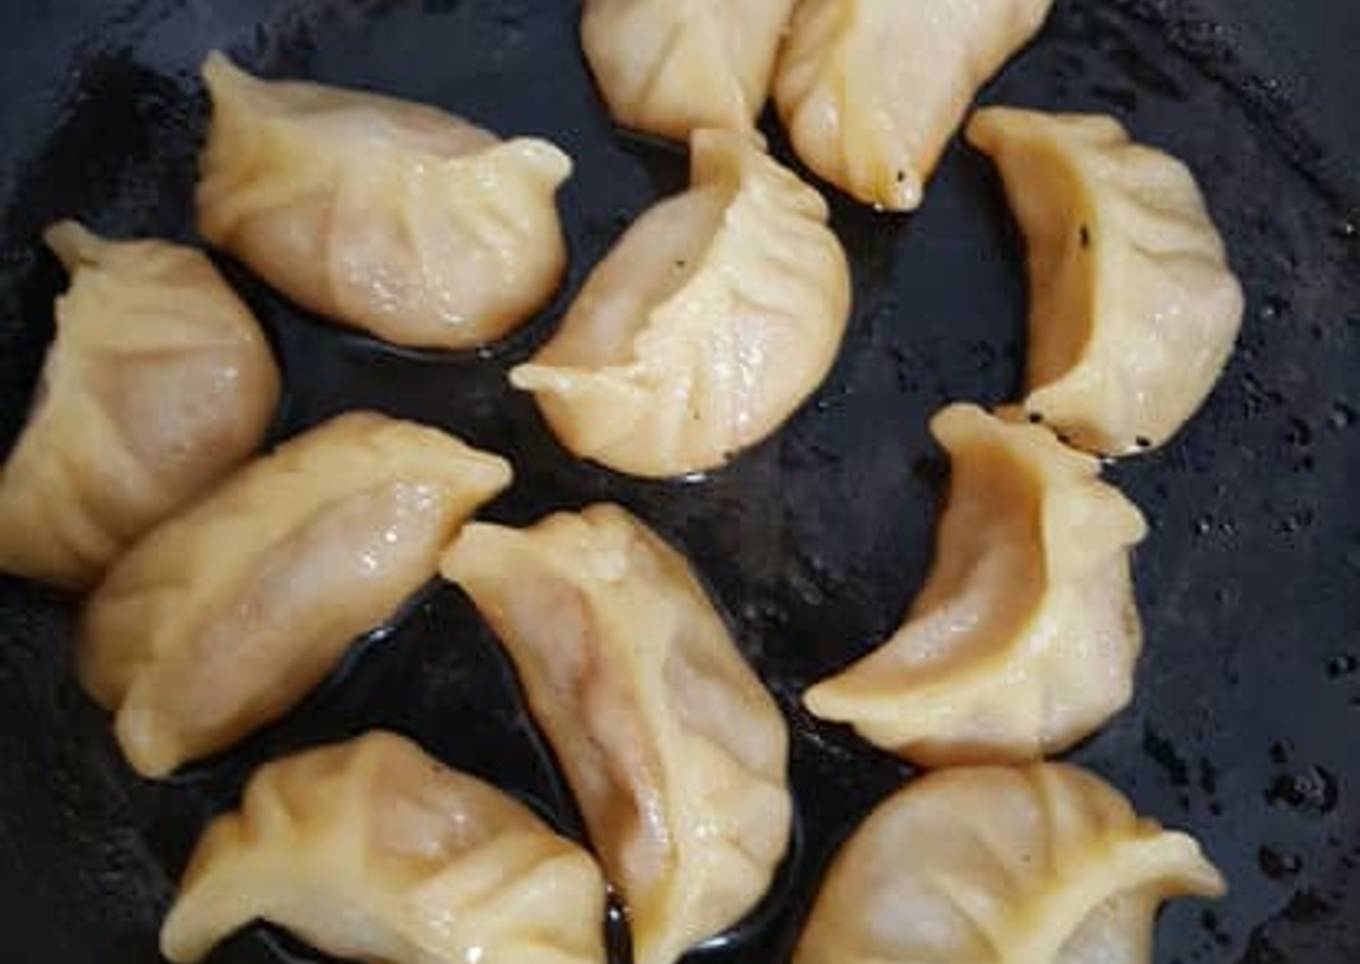
Gyoza Wrappers is one of the most favored of current trending foods in the world. It is simple, it is quick, it tastes delicious. It's appreciated by millions daily. They're fine and they look fantastic. Gyoza Wrappers is something which I have loved my whole life.
Many things affect the quality of taste from Gyoza Wrappers, starting from the type of ingredients, then the selection of fresh ingredients, the ability to cut dishes to how to make and serve them. Don't worry if you want to prepare Gyoza Wrappers delicious at home, because if you already know the trick then this dish can be used as an extraordinary special treat.
As for the number of servings that can be served to make Gyoza Wrappers is 40 wrappers. So make sure this portion is enough to serve for yourself and your beloved family.
To begin with this particular recipe, we have to prepare a few ingredients. You can cook Gyoza Wrappers using 4 ingredients and 11 steps. Here is how you cook that.
Have you tried making gyoza wrappers from scratch? All you need is salt, water, and flour! It's that easy. And enjoy this fun, rewarding process!
Ingredients and spices that need to be Take to make Gyoza Wrappers:
- 2 cups all-purpose flour (plain flour)
- 1/2 tsp kosher/sea salt
- 1/2 cup water (Just boiled, should be around 120-150 ml, plus more if necessary; As different brands of flour will absorb water differently, please adjust the amount of water if necessary.)
- potato starch/cornstarch (for dusting)
Instructions to make to make Gyoza Wrappers
- Before you start, you need to accurately measure flour. If you don’t have a kitchen scale (I highly recommend getting one), stir the flour in the bowl, scoop it up with a spoon, sprinkle into the 1-cup measuring cup, and level off the top. Put the flour into a medium bowl. The amount of flour should be close to standard 4.25 oz (120 g) per cup.
- Sift the flour into a large bowl. Add salt to just-boiled water and mix until completely dissolved.
- Add the just-boiled water into the flour little by little, stirring with a rubber spatula. You will eventually need to use your hands to form the dough into a ball. If the flour is still separated, add ½ Tbsp water at a time till you can form the texture into a ball.
- Transfer the dough to the work surface and knead the dough for 10 minutes. After 10 minutes, the texture of the dough will be much smoother. Cut the dough in half.
- Shape each half into a long log, about 1½ inches in diameter (it doesn't have to be perfect if you’re going to use a cookie-cutter later). Wrap each log with plastic wrap. Let it sit for 30 minutes.
- Unwrap the dough. Sprinkle a little potato starch on the work surface and cut each log crosswise into about 12 pieces (may vary depending on the log length and width). Since we’ll be using a cookie cutter, don’t worry if each piece of dough has a slightly different size.
- Cover the dough with a damp kitchen towel at all time to prevent from drying. For each piece of dough into a ball shape. Press the ball onto the work surface. Using a rolling pin, roll out the dough, but DO NOT roll out (flatten) the TOP and BOTTOM edge. This is a trick to make a nice round shape.
- Rotate the dough 90 degrees and repeat rolling the dough to make a nice round shape. Try to roll out the dough to a thin circle. If the dough is hard to roll out or shrinks back, let the dough rest a bit to relax the gluten.
- If you want a perfectly round shape for your wrappers, press down the 3-inch (8 cm) cookie cutter and remove excess dough. If the dough rolls back, leave it for a few seconds, and cut out. Cover the scraps with the damp towel. Later combine all the scraps as long as they still squish together and haven’t dried out too much. Re-roll the scraps and repeat the process.
- Sprinkle each wrapper with potato starch and stack the gyoza wrappers. Make sure to the wrappers covered with damp kitchen towel. Once all the dough is used, wrap the gyoza wrappers with plastic wrap and freeze or refrigerate until you’re ready to use. You can keep gyoza wrappers for about 3-4 days in the refrigerator and up to a month in freezer. Defrost in the refrigerator prior to use.
- Please don't forget to tag @appetizing.adventure on Instagram if you try this recipe!
As your experience and confidence expands, you will locate that you have much more all-natural control over your diet plan and also adapt your diet to your individual preferences over time. Whether you want to serve a recipe that utilizes fewer or even more active ingredients or is a little essentially hot, you can make basic changes to achieve this goal. Simply put, begin making your recipes in a timely manner. As for basic food preparation abilities for newbies you don't need to learn them but just if you grasp some simple food preparation methods.
This isn't a total overview to quick and very easy lunch dishes yet its good food for thought. Hopefully this will certainly get your innovative juices streaming so you can prepare tasty dishes for your family without doing way too many square meals on your journey.
So that's going to wrap this up for this special food Recipe of Favorite Gyoza Wrappers. Thank you very much for your time. I am confident that you can make this at home. There is gonna be more interesting food in home recipes coming up. Remember to save this page on your browser, and share it to your family, friends and colleague. Thanks again for reading. Go on get cooking!